Equipment is not Important: Better equipment does not produce better photographs any more than a better pen lets you write that great novel you’re planning! Every photographer needs equipment but you should treat it like an author treats their writing implement. It is just a vehicle to transmit what is in your brain to someone else. You need a point of view (see tip one) and then you can use anything from a smart phone to a Nikon D800.
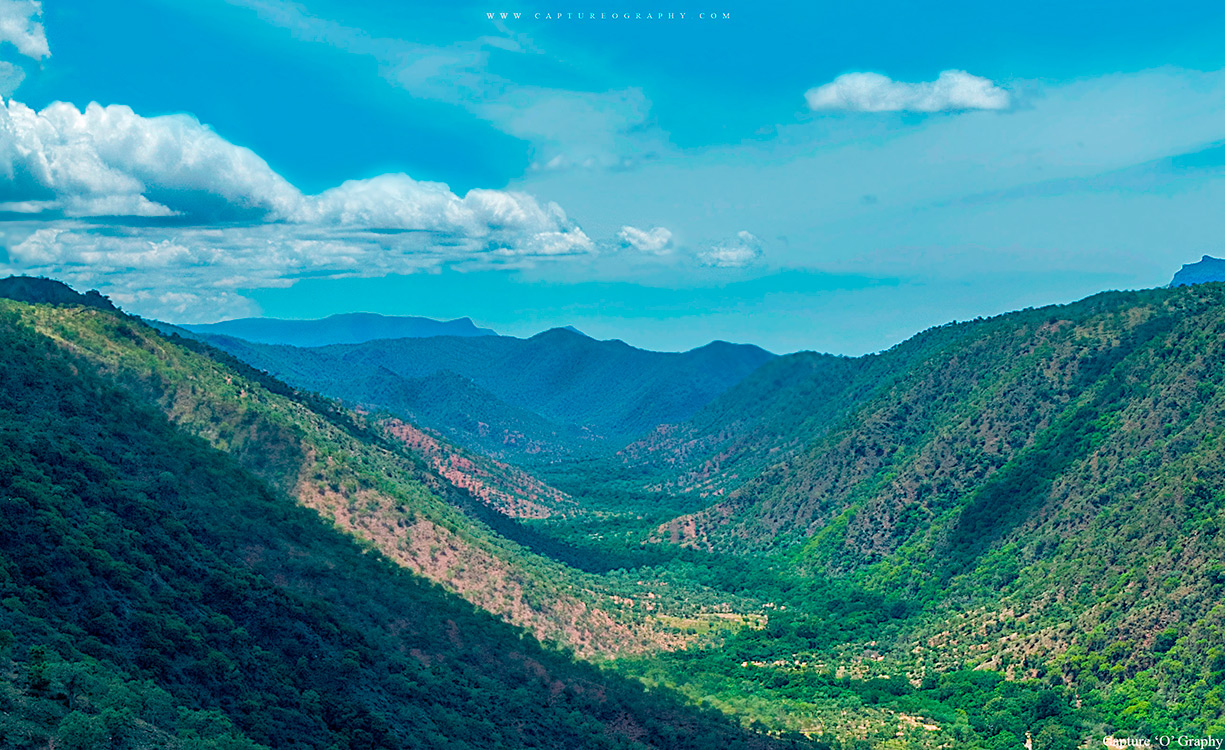
Maximize your Depth of Field: While there may be times that you want to get a little more creative and experiment with narrow depth of fields in your Landscape Photography – the normal approach is to ensure that as much of your scene is in focus as possible. The simplest way to do this is to choose a small Aperture setting (a large number) as the smaller your aperture the greater the depth of field in your shots. Do keep in mind that smaller apertures mean less light is hitting your image sensor at any point in time so they will mean you need to compensate either by increasing your ISO or lengthening your shutter speed (or both).
Note: Of course you can get some great results with a very shallow DOF in a landscape setting.
Use a Tripod: As a result of the longer shutter speed that you may need to select to compensate for a small aperture you will need to find a way of ensuring your camera is completely still during the exposure. In fact even if you’re able to shoot at a fast shutter speed the practice of using a tripod can be beneficial to you. Also consider a cable or wireless shutter release mechanism for extra camera stillness.
Look for a Focal Point: All shots need some sort of focal point to them and landscapes are no different – in fact landscape photographs without them end up looking rather empty and will leave your viewers eye wondering through the image with nowhere to rest (and they’ll generally move on quickly).Focal points can take many forms in landscapes and could range from a building or structure, a striking tree, a boulder or rock formation, a silhouette etc. Think not only about what the focal point is but where you place it. The rule of thirds might be useful here.
Set for Evaluative Metering: Set your camera to evaluative metering so the camera can measure the light levels across the entire frame. Spot or centre-weighted metering may be far too biased to the most intense areas of light
Think Foregrounds: One element that can set apart your landscape shots is to think carefully about the foreground of your shots and by placing points of interest in them. When you do this you give those viewing the shot a way into the image as well as creating a sense of depth in your shot.
Consider the Sky: Another element to consider is the sky in your landscape. Most landscapes will either have a dominant foreground or sky – unless you have one or the other your shot can end up being fairly boring. If you have a bland, boring sky – don’t let it dominate your shot and place the horizon in the upper third of your shot (however you’ll want to make sure your foreground is interesting). However if the sky is filled with drama and interesting cloud formations and colors – let it shine by placing the horizon lower. Consider enhancing skies either in post production or with the use of filters (for example a polarizing filter can add color and contrast).
Lines: One of the questions to ask yourself as you take Landscape shots is ‘how am I leading the eye of those viewing this shot’? There are a number of ways of doing this (foregrounds is one) but one of the best ways into a shot is to provide viewers with lines that lead them into an image. Lines give an image depth, scale and can be a point of interest in and of them by creating patterns in your shot.
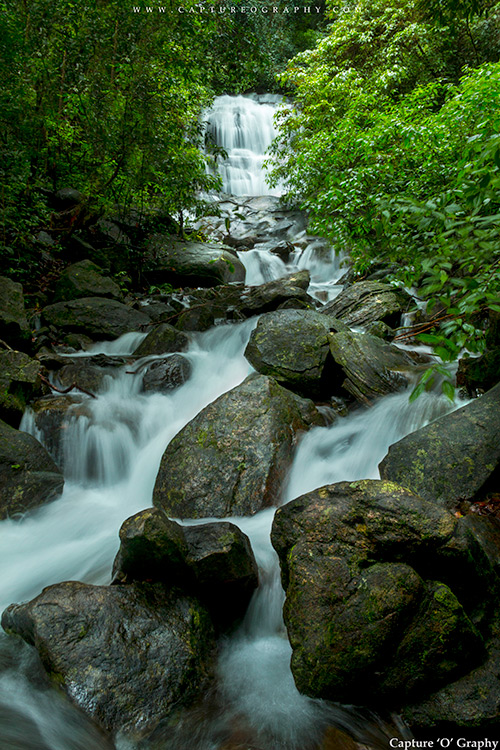
Capture Movement: When most people think about landscapes they think of calm, serene and passive environments – however landscapes are rarely completely still and to convey this movement in an image will add drama, mood and create a point of interest. Examples – wind in trees, waves on a beach, water flowing over a waterfall, birds flying over head, moving clouds. Capturing this movement generally means you need to look at a longer shutter speed (sometimes quite a few seconds). Of course this means more light hitting your sensor which will mean you need to either go for a small Aperture, use some sort of a filter or even shoot at the start or end of the day when there is less light.
Work with the Weather: A scene can change dramatically depending upon the weather at any given moment. As a result, choosing the right time to shoot is of real importance. Many beginner photographers see a sunny day and think that it’s the best time to go out with their camera – however an overcast day that is threatening to rain might present you with a much better opportunity to create an image with real mood and ominous overtones. Look for storms, wind, mist, dramatic clouds, sun shining through dark skies, rainbows, sunsets and sunrises etc and work with these variations in the weather rather than just waiting for the next sunny blue sky day.
Work the Golden Hours: I chatted with one photographer recently who told me that he never shoots during the day – his only shooting times are around dawn and dusk – because that’s when the light is best and he find that landscapes come alive. These ‘golden’ hours are great for landscapes for a number of reasons – none the least of which is the ‘golden’ light that it often presents us with. The other reason that I love these times is the angle of the light and how it can impact a scene – creating interesting patterns, dimensions and textures.
Think about Horizons: It’s an old tip but a good one – before you take a landscape shot always consider the horizon on two fronts. • Is it straight? – while you can always straighten images later in post production it’s easier if you get it right in camera. • Where is it compositionally? - a compositionally natural spot for a horizon is on one of the thirds lines in an image (either the top third or the bottom one) rather than completely in the middle. Of course rules are meant to be broken – but I find that unless it’s a very striking image that the rule of third usually works here.
Change your Point of View: You drive up to the scenic lookout, get out of the car, grab your camera, turn it on, walk up to the barrier, raise the camera to your eye, rotate left and right a little, zoom a little and take your shot before getting back in the car to go to the next scenic lookout. We’ve all done it – however this process doesn’t generally lead to the ‘wow’ shot that many of us are looking for. Take a little more time with your shots – particularly in finding a more interesting point of view to shoot from. This might start with finding a different spot to shoot from than the scenic look out (wander down paths, look for new angles etc), could mean getting down onto the ground to shot from down low or finding a higher up vantage point to shoot from. Explore the environment and experiment with different viewpoints and you could find something truly unique.!
DSLR/Mirrorless/Bride camera with Macro Function
Macro Lens if you are using DSLR/Mirrorless
Trpod
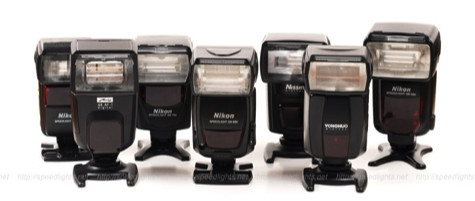
External Flash and Reflector if possible
Live View
Over the past few years, a live view function has become available on almost all digital cameras. Its an extremely handy feature to use when shooting macro.
You never know where your subject is going to be. You could be shooting extremely low to the ground and in that position getting to the viewfinder might be more hassle than its worth. Switching on your live view is easy and saves you from bending down and hurting your back.
On many new DSLR camera, the screen is also larger and you can often judge how sharp an image is on the screen a lot easier than in the viewfinder.
Cameras such as the Canon 60D and G12 also now have pop out screens which you can turn and rotate around. These are very handy when shooting bizarre angles.
Macro mode for Compact Cam(Digi cam):
Compact camera users will have to switch to macro mode. Macro photography mode is typically easy to find, as it is usually identified by a small flower logo.
Macro mode allows you to get slightly closer to your subject as well as telling the camera to increase the aperture, blurring the backgrounds and keeping the subject in focus.
For DSLR
DSLR users on beginners cameras will also have a macro mode, but I would suggest using the manual modes as they will give you more creative freedom.
A true macro lens offers 1:1 magnification (life size magnification). However most other lenses will only be able to offer 1:2 (half life size), on these lenses you are normally able to find the small flower logo, with the details on the minimum focus distance. My kits lens for example is 0.28m/0.9ft.Find the number and remember it as you will not be able to focus very well if you get any closer. You might find that if you are using a telephoto that number could be quite large and getting in close might be quite tricky.
Use a Tripod/Gorillapod:
The obvious problem with close up photography is camera shake, therefore I believe you should use a tripod. This will reduce the chances of blurry photos and also allows you to play around with your settings without losing your composition.
As well as using a tripod, using a high shutter speed as well as a cable release will also help reduce camera shake.
strong>Aperture:
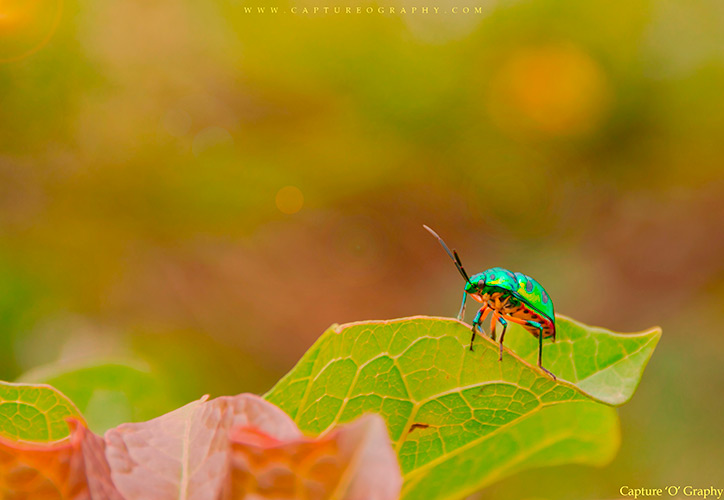
As previous mentioned aperture makes a big difference when shooting macro photography. Most compact cameras will not allow you change the aperture once in macro mode, however if using an SLR I would suggest choosing a larger aperture (small number) to get a nice shallow depth of field.
Most dedicated macro lenses will allow an aperture of around F2.8
Use a Flash Shadows are a macro photographers worst nightmare, so a flash is very important.
If you have a DSLR and are able to afford an external flash for off-camera work then you will be in the best position. This will give you the freedom to light the subject from any angle you wish.
However, if your using the built-in flash of your compact or SLR then I would suggest shooting around midday when the sun is at its highest, using the on-camera flash a fill light.
Best camera settings for macro photography: br> The depth of field is very tight in extreme close-up shooting, so it’s best to use a narrow aperture.It’s often better to focus manually on exactly the point in the frame that you want to be in sharpest focus, so you don’t have to align one of the AF points and then swivel the camera afterwards.
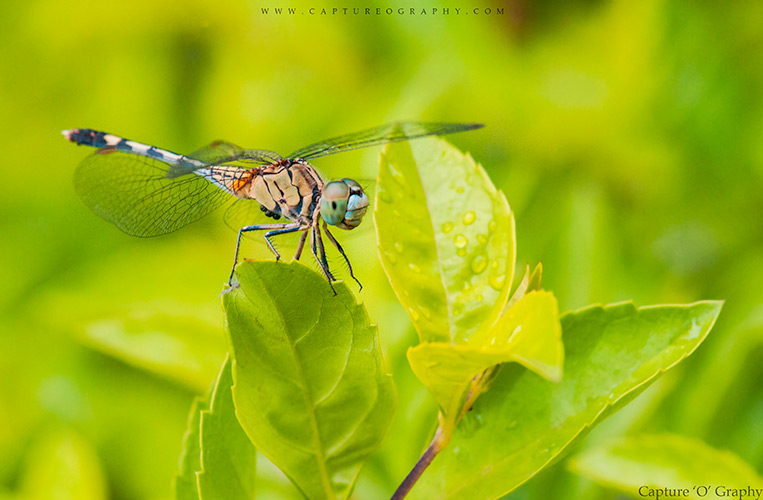
Shooting Mode
Use Aperture Priority or Manual shooting mode with a narrow aperture of around f/16. Very narrow apertures of around f/32 are likely to degrade sharpness, due to diffraction(beam of light is spread out as a result of passing through a narrow aperture)
Manual Focus Switch to manual focus, then focus on the most critical point in the frame. If your camera has a magnified Live View option, use this for maximum focusing precision.
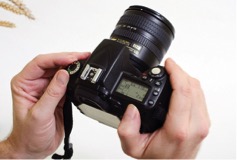
Light Meter: No matter how smart your camera’s built-in light meter, it will sometimes under- or over-expose. You can learn to compensate for such errors, but there’s a more accurate and reliable method – using a hand held light meter, such as the Sekonic L-308S hand held light meter shown here.
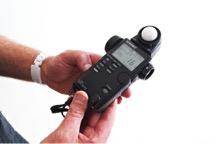
When using your DSLR’s internal light meter you’re measuring the light reflected from the subject, and the camera assumes that the tones in the scene will average out to a mid-grey. This is fine for most subjects, but when the subject is mainly white or black, the meter will set an exposure to record this as grey. So with white subjects you’ll end up with an under-exposed shot, and with black subjects you’ll end up with an over-exposed shot. Hand-held light meters avoid these headaches by measuring the light falling onto the subject. Known as an incident reading, this is a much more accurate way of measuring exposure because it isn’t affected by the color or tone of the subject. Take a meter reading from the subject position rather than where you’re shooting from, and point the meter back towards the camera. This technique is ideal for portraits and still life. Handheld light meters have three important functions:
1) Read light being reflected from a subject
2) They read the light falling on a scene or subject, that is, the incident light.
3) They read the light from an electronic flash.
How to use a hand held light meter for perfect exposures
Step 1: Select metering mode Meters measure flash as well as ambient light, so pick the right mode – in this case ambient, usually indicated by a sun symbol. You also need to set the ISO to correspond with the ISO choice on your camera.
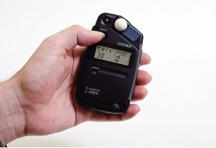
Step 2: Set up for incident light
To measure the light falling on the subject, ensure the white dome is covering the light-sensitive cell. Put the meter by the subject, and check that the white dome is pointing towards where your lens will be.

Step 3: Take the reading
Now press the button on the side of the meter to measure the light falling on the subject. You can then scroll through the combination of shutter speeds and apertures that correspond to this reading by using the meter’s up and down buttons.
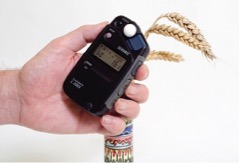
Step 4: Transfer the reading
Choice of settings is down to whether you need a particular shutter speed or aperture for depth of field. With your camera on manual exposure mode (M), simply enter the shutter speed and aperture from the readout of the meter.
Advantages:
IT is essential to keep in mind that great photography depends on being familiar with how technology works. Also, it is Important to know the different components of the camera and to maximize its usage. By using a light meter, you will gradually develop a feel for how different exposure settings can change your photography, which is valuable piece of knowledge to have and can greatly benefit your photos, regardless of the style you are shooting.
In terms specifically for portraiture, being manually able to adjust exposure settings and having a good knowledge of light meter use allows you to create images where a bright portrait stands out beautifully against a dark background, or to shoot in low light and still achieve a beautiful result. It can enable you to add mood or add atmosphere to the images thus can help your photographs stand out.
Knowing the various photo editing software is available not just for computers but even for mobiles, to take perfect pictures are no longer important. Photo editing already became a industry that helps make a story of a photo. With a close look, a perfectly captured image is not the same as the edited images. There is no substitute for quality and taking the time to learn how light metering works will greatly benefit you and your photograph in long term.
Grey Card
Get your White Balance Right in Seconds Using Grey Card. Not every beginner photographer is familiar with white balance concept and use. White Balance assist you to get the colors in your images as precise as possible. There are a few ways how you can adjust your white balance and make your pictures look more natural.
In this tutorial I will focus on the easiest way that you can be 100% sure you will get your white balance right.
And it is using grey card. All you need to have is a grey card either purchased from a photography gear shop or you might have some neutral grey paper yourself (make sure it’s non-reflective though). Once you got your grey card then your life gets much easier in post processing. First you save lots of time without the need to adjust every picture and second you are able to batch process in seconds the rest of the pictures taken in the same light condition. So let’s get started! This method is so quick and easy to do.
Once you turn your camera on – check your white balance on the camera is set to match closest the lighting type. You need to look for a button on your camera with two capital letters WB and it is usually placed on the top right of canons near LCD screen and top left of Nikons. Press WB and set it to the appropriate light situation.
If however you are not sure what white balance option to use – the best option then is to leave it set to “auto white balance”. All you need to do is take a picture with gray card in that picture every time the light situation or the shooting location changes. You can either ask your subject to hold it or place it near it if it is still object.

When you upload the images on your computer and start retouching them – first thing to do is load a selection of same lighting situation pictures in camera raw (I am using adobe Photoshop plug-in for camera raw and I always shoot in raw), then find the picture with gray card and select the white balance tool from the top panel of camera raw tools and click on the gray card in your picture.
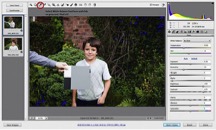
In the matter of a second it will adjust your white balance and correct the colors. All you need to do then is just synchronising all the other pictures in the open selection and voila! Very quick and easy to batch process loads of images. You can use this technique in Lightroom as well.


Introduction:
Exterior Architectural Photography - This kind of architectural photography takes advantage of daylight or good sources of light (ex. moonlight, ambient light from street lights and exterior lights on buildings). An exterior architectural photographer prefers scenes with good landscaping around a building. He will want to blend a structure’s aesthetics with its environment. It’s pretty much like capturing a scene in its natural element or surroundings
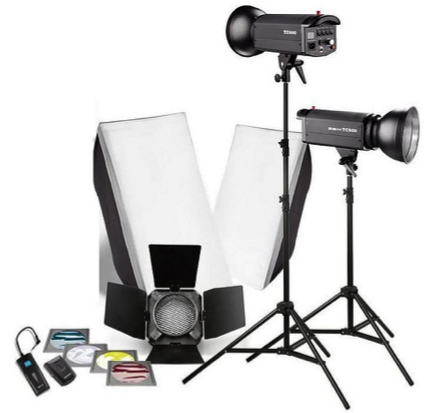
Interior Architectural Photography - Although Interior Architectural Photography will also find ways to use ambient lighting (from open windows and street lights, for example), there will still be a need to add more light to the scene. This can be achieved by using supplemental lighting, the most popular of which is the flash. This is why indoor architectural photography is considered controlled photography. Take control of the situation by adjusting the lighting.
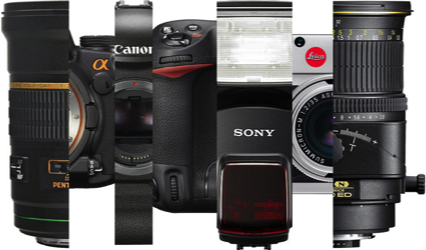
Basic Equipment
COMPOSITION Rules:
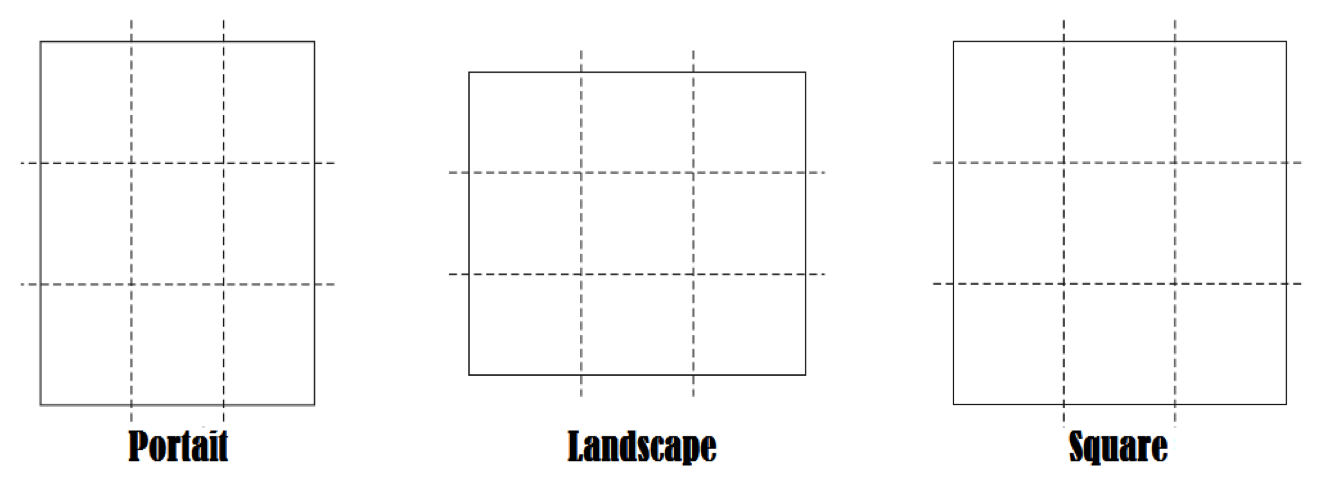
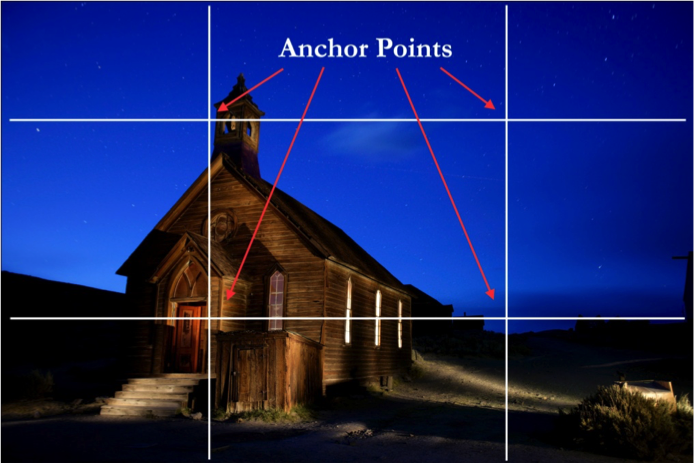
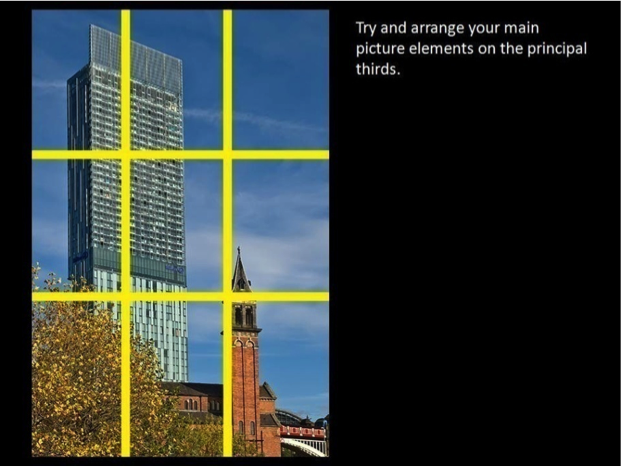
Rule of Third: The “Rule of Third” identifies four important parts of the image that you should consider as you frame your image. If you place ‘points of interest’ in the intersections or along the lines then your photo becomes more balanced and will enable a viewer of the image to interact with it more naturally.
Golden Triangles:
This rule works by having strong diagonal lines pass through the image, dividing it into three (or four) triangles. The strongest line (called a major line) divides and dominates the image diagonally. Then, from one corner, an intersecting line connects to the diagonal line perpendicularly (this is called a reciprocal line)


Golden Spirals:

Leading Lines:
Perspective and depth are the usual drivers for leading lines, but the more obvious definition is a scene that directs the viewer’s gaze along an intended path. In this image the fountain will lead your eyes up and towards the exit. The chairs and tables serves as the final area of focus
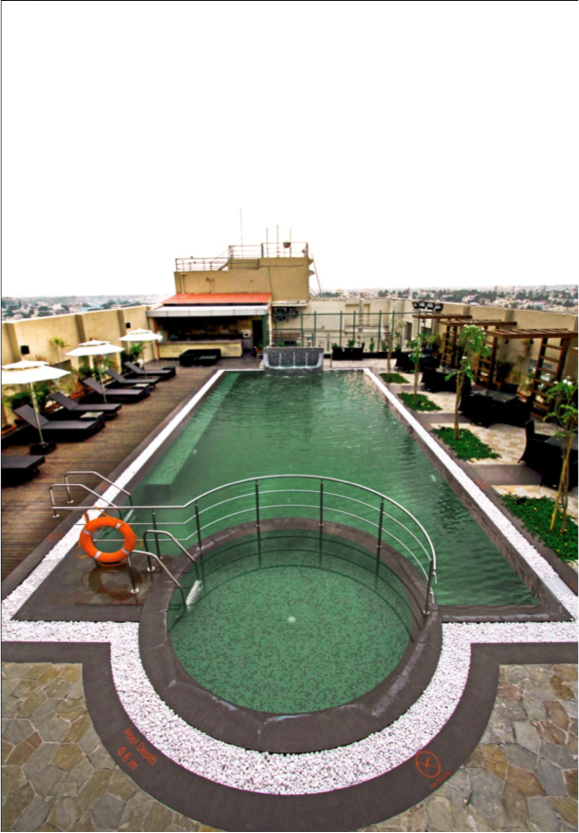
Symmetry:
The power of the image is in the symmetry and off horizontals and verticals would have a serious impact
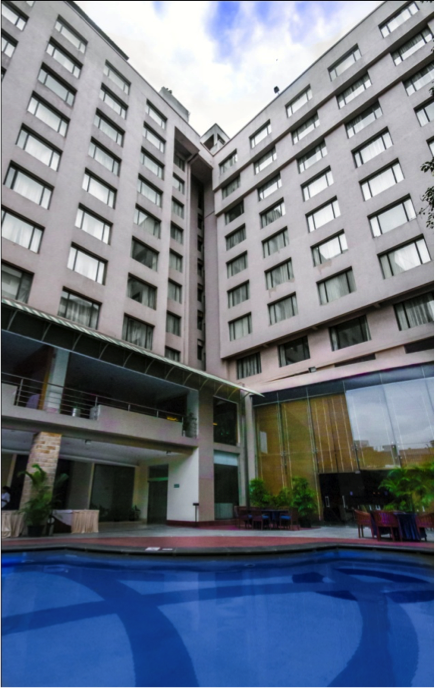
Photography is about light. Learning how to see light is essential to developing your photographic eye. When taking pictures, being able to determine the intensity, color and direction of the light will help you know how to position your subject and which camera settings to use.
Intensity of Light
Direct intense light can be quite harsh. You often find these conditions on bright sunny days. Harsh light intensifies the contrast between light and shadows and can be very unflattering. When you take pictures in harsh sunlight your subject often ends up with shadowy eye sockets that make them look tired.
When working with diffused less intense light, contrast is lower and the light is more flattering. When the sun is shining brightly overhead there are a few things you can do to diffuse the light. Find some cover. Shade can act as a great diffuser. Try to photograph your subject under the cover of a porch, awning, or the shade of tree cover. When working in shade makes sure the subject is evenly covered by the shade. Any specks of bright sunlight shining on them will detract from the look of the picture. If you don’t have any shade in the area, you can diffuse the light with a scrim. Simply place the scrim between your subject and the light source.
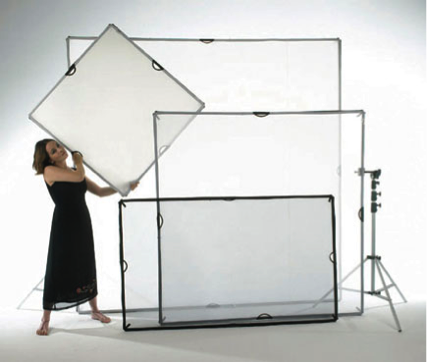
Overcast days are good for natural light portrait photography because the cloud cover acts as a natural diffuser. Even on overcast days you may find yourself in need of a fill flash to help your subject’s features stand out in the picture.
If you are taking pictures inside and relying on a window as your light source, move your subject away from the window to lessen the intensity of the light. You can also cover the window with sheer curtains or use a scrim between your subject and the window to help diffuse the light.
Make your Own Scrim
You can make your own scrims. Cover any frame with a screen mesh material. Measure the light hitting a subject, then put the scrim between the light source and the subject. Note the difference between the two in f-stops. That’s how much your scrim reduces the light. For example, a non-scrimmed subject outdoors on a sunny day might read 1/100 at f/16, ISO 100. The same subject scrimmed reads 1/25 at f/16. That’s a 2-stop difference. The homemade scrim reduces the light 2 stops.
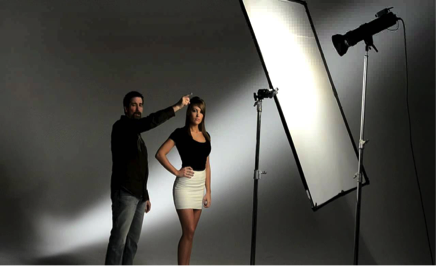
Using Scrims
The left section of the portrait above is before I scrimmed the white rug draped over a chaise lounge. It’s almost as bright as the subject’s face. I added the scrim then had Victoria turn her face into the light. She becomes the center of attention instead of competing with the white rug. Best of all, there’s zero postproduction. The brightness is all exactly where I want it for the entire take.
If you find yourself doing a lot of vignetting in Photoshop, scrims are the ticket to keep you behind the camera instead of in front of your computer’s monitor.
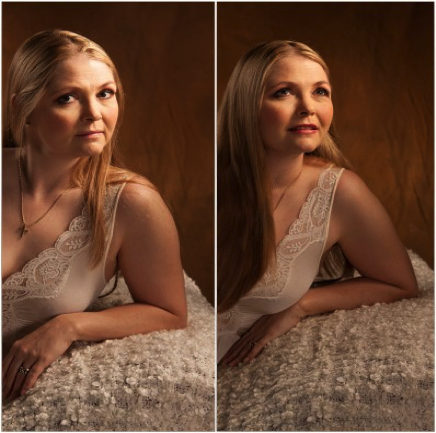
Advantages of Using Scrim <
- They can be used as an alternative for Softbox
- They are inexpensive/li>
- They are easy to make
- Quickly change the size/quality of the light
- Different Fabrics = Different Light Modifiers
- Better Reflections for Product Photography
If you've dug through your camera's settings a few times, you've likely ran into the Colour Space setting. You might have ignored what it all means and probably you would have just set it to sRGB or Adobe RGB. However, both sRGB and AdobeRGB have their advantages and disadvantages, so what are the advantages and disadvantages of using this colour space.
What is Colour Space?
The first thing you need to understand is Colour Space. Which basically stands for the range of colour’s utilised. Every Colour Space has a Colour Gamut which is basically the amount of colours in a colour space. Every colour space is different and will give you different results. You may have heard the term Adobe RGB 1998, sRGB, or ProPhoto RGB before. Those are generally the most used colour spaces that you’ll see when you’re working with photos.
In layman's terms, colour space is just a specific range of colours that can be represented in a given photo.
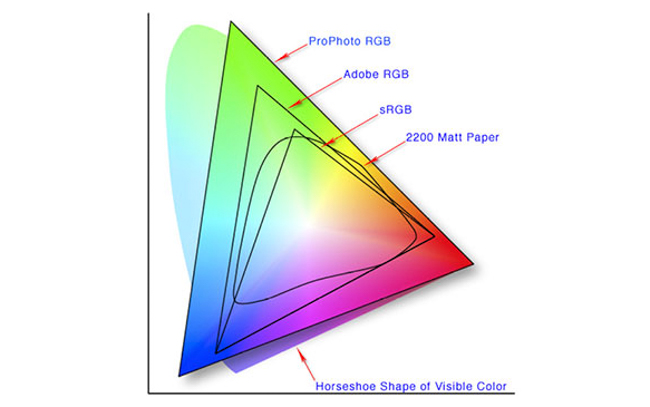
As you can see there’s a pretty substantial difference between them, especially sRGB and ProPhoto RGB. This can become an issue for your photos when uploaded to the web. Chances are if you upload a photo exported to ProPhoto RGB, you’re going to have an issue when people see your photos.
In Digital Photography:
In digital photography, there are two main types of colour spaces, AdobeRGB and sRGB. If you go into your camera’s settings, you’ll see that you’ll have the option of using either, straight out of the camera. You’ll also have the option of converting it to one or the other in post processing (with limitations), but which one should you use?
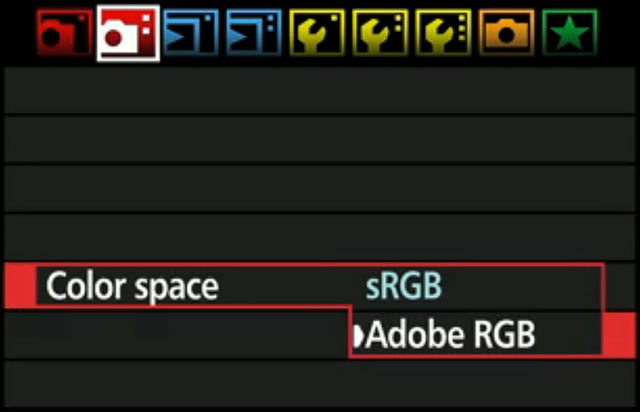
The Difference
To better understand which one to use, you must first understand the difference between the two. AdobeRGB, by all accounts is better, as it represents a wider range of colors. How much better? They say that AdobeRGB is able to represent about 35% more color ranges than sRGB is able to. But does that make it the best for photography? Not exactly, as the world works with sRGB far more than it does with AdobeRGB.
Understand that most browsers, most monitors, and so forth, are all going to work with the sRGB standard, so if you’re not planning on printing then sticking with sRGB is probably the best option for most of your stuff. The internet, video games, applications, personal devices, and most everything else has adapted sRGB as their standard for colour space. Even the monitor you’re using likely cannot display all the colours of AdobeRGB.
Even web browsers have adapted sRGB as its colour space, if you upload an image to the internet with the AdobeRGB gamut, the browser will convert it to sRGB, and it’ll do a terrible job.
NOTE:
- Colour space actually doesn’t matter if you shoot your images in RAW format.
- You can convert an Adobe RGB to sRGB in Photoshop without loosing any colours but you can’t convert an sRGB colour space to Adobe RGB.
Conclusion: Please go ahead and use sRGB if you are shooting only for web uploading and Adobe RGB if you are printing to get that extra colours in your print.
3 Reasons Why You Should Switch To Back Button Focus:
- No More Switching Your Lens To Manual Focus
- No More Refocusing Every Time You Let Go of the Shutter
- Use Servo for Almost All of Your Focusing Needs
Copy the link below to see the advantages and to activate back focusing on your camera.
https://www.youtube.com/watch?v=c5hMU8CRHgo
When you’re just starting out it can be difficult trying to figure out what lenses you need. The options, and opinions, are endless.
I thought this video will be of great help for you in deciding what equipments you need to take for your next shoot. Shoot like a Pro...
Now before I even get started, please keep in your mind that the lens selection will vary depending on what type of camera you shoot (full frame like the Canon 5D mk III, or cropped like the Canon 80D).
Shooting a cropped camera has the effect of multiplying the focal length by between 1.3-1.6x (i.e a 50mm lens would be 75mm on a cropped sensor camera.)
The Canon lenses which we are recommending and discussed in this video are:
- Canon EF 85mm F-2.8L USM
- Canon EF 50mm F-1.4 USM
- Canon EF 70-200 F-2.8II USM
- Canon EF 50mm F-1.8II
- Canon EF 40mm F-2.8 STM
- Canon EF 24mm F-2.8 STM
Here in this video I have explained in detail aboyt the specs of these lens. Copy the link to the browser to see the video.
https://www.youtube.com/watch?v=3Oqm3E7gVYo&t=17s

